
Download macVCR – powerful screen capture tool for macOS
Overview
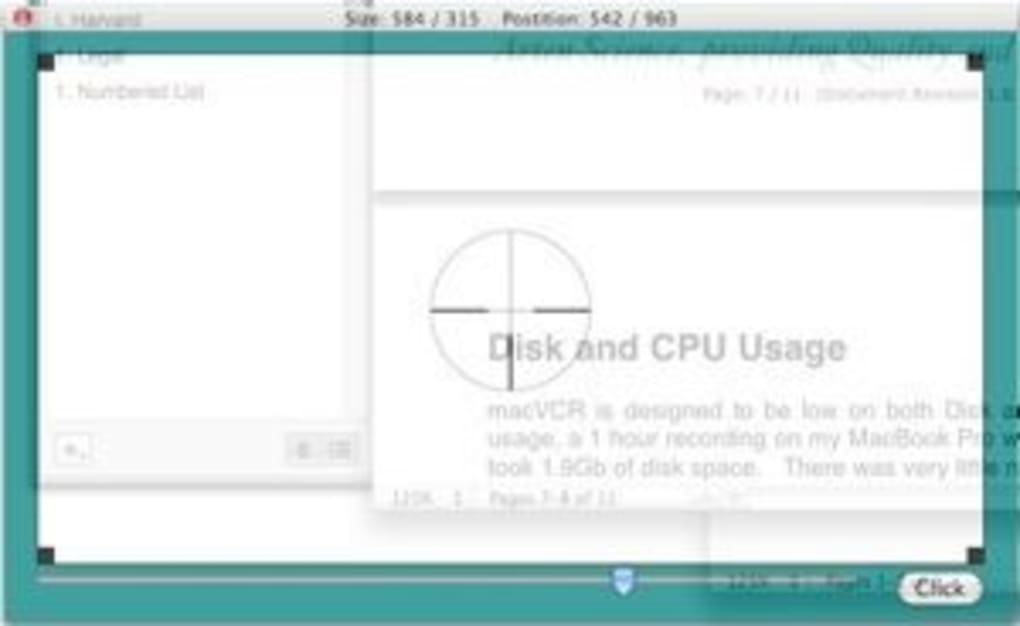
macVCR is a complete screen‑capture solution designed specifically for macOS users who need more than a simple screenshot but less bulk than a full‑blown video editor. Unlike many competing tools, macVCR lives entirely on a portable bundle – there is no installer, no background services, and no permanent footprint on your system. You simply double‑click the macVCR icon, and the application springs to life, instantly ready to record every pixel that appears on your desktop, including mouse movements, cursor clicks, and even webcam overlays.
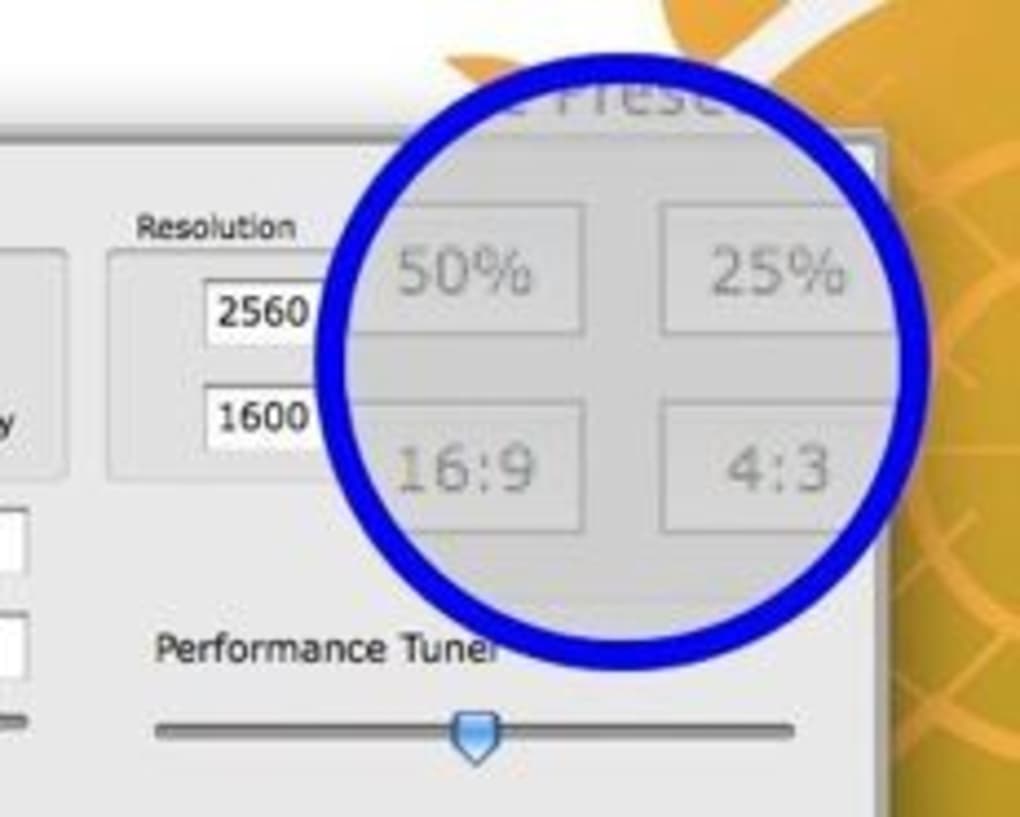
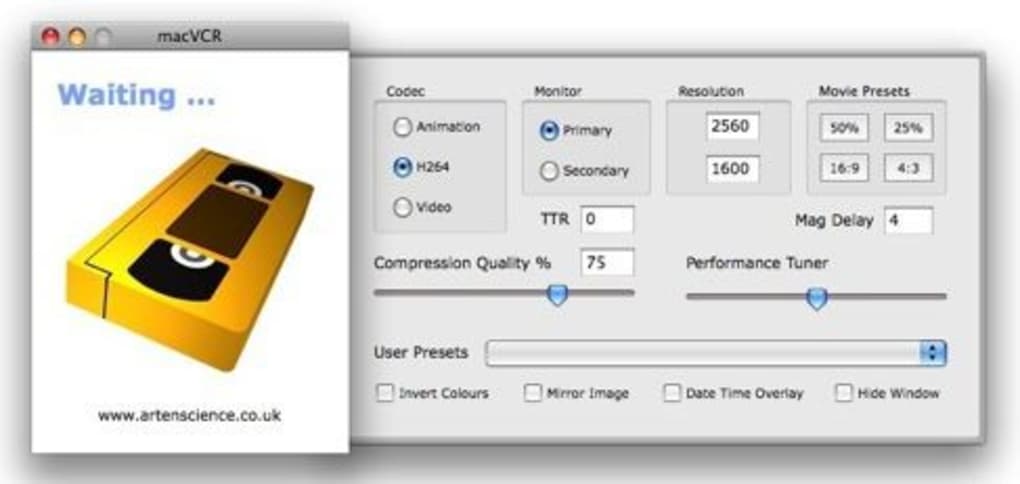
The real strength of macVCR lies in its depth of control. Users can pick from a wide range of codecs, adjust the frame‑rate from 5 fps up to 30 fps, fine‑tune video compression, and set exact resolution limits to match the target device. The output is saved directly in QuickTime (MOV) format, but the tool also offers conversion options to Windows Media, AVI, iPhone‑compatible MP4, and Apple TV‑ready files, making cross‑platform sharing painless.
While the interface may look modest at first glance, macVCR packs an advanced annotation suite that lets you draw shapes, highlight areas, and even zoom into a region of the screen during playback. If you work with a dual‑monitor setup, macVCR can capture both displays in a single recording – a feature that remains rare among free screen‑capture utilities.
Because macVCR is built as a lightweight, portable binary, it loads in seconds and consumes minimal RAM, which is ideal for developers, educators, and content creators who need a reliable capture tool without compromising system performance.
The learning curve can be a bit steep due to the many options, but once you master the workflow, macVCR becomes an indispensable part of any macOS productivity toolkit.
Key Features
- Zero‑installation launch – run directly from the app bundle.
- Full‑screen, window, or custom region recording with mouse‑pointer capture.
- Support for dual‑monitor setups – capture one or both displays simultaneously.
- Multiple output formats: QuickTime (MOV), AVI, MP4, Windows Media, Apple TV.
- Advanced codec selection (H.264, ProRes, MPEG‑4) with adjustable bitrate.
- Frame‑rate control from 5 fps up to 30 fps for smooth video playback.
- Resolution scaling and duration limits to keep file sizes manageable.
- Built‑in annotation tools: draw shapes, add text, highlight areas, zoom windows.
- Webcam overlay for tutorial videos and live commentary.
- Japanese encoding option for localized subtitles and captions.
- Universal Binary – runs natively on both Intel and Apple Silicon Macs.
- Regular updates with bug fixes, including annotation key‑combination display.
Installation, Usage & Compatibility
Zero‑Installation Launch
macVCR eliminates the traditional installation process. After downloading the zip file from the official site, extract the bundle and locate the macVCR icon. Double‑click the icon, and the application launches instantly. Because it does not write files to the system Library or modify preferences, you can keep the app on a USB stick or in a cloud‑synced folder and use it on any compatible Mac without admin rights.
Step‑by‑Step Recording Workflow
- Launch macVCR: The main window displays a live preview of your desktop.
- Select Capture Area: Choose “Full Screen,” “Active Window,” or draw a custom rectangle.
- Configure Settings: In the preferences pane, set the desired codec, frame‑rate, resolution, and audio source (system audio or external microphone).
- Start Recording: Press the red “Record” button. macVCR begins capturing instantly, showing a subtle overlay timer.
- Annotate On‑the‑Fly: Use the toolbar to draw arrows, circles, or highlight text while recording. Press ⌘+Z to undo.
- Stop & Save: Click the “Stop” button; the video is saved to the default folder or a location you specify.
- Export Options: Open the saved file in QuickTime to trim, or use the built‑in converter to output to AVI, MP4, or Windows Media.
Compatibility Details
macVCR is compatible with macOS 10.9 (Mavericks) and later, supporting both Intel‑based Macs and Apple Silicon (M1/M2) devices through a universal binary. The app runs smoothly on macOS Ventura, Monterey, and Big Sur. Because the output formats include Windows Media and AVI, recordings can be played on Windows PCs without additional conversion tools.
System Requirements
- Processor: 1.4 GHz or faster (Intel or Apple Silicon).
- Memory: Minimum 512 MB RAM (1 GB recommended for high‑resolution captures).
- Disk Space: Approximately 30 MB for the application bundle; additional space needed for recorded files.
- Permissions: Screen recording permission under System Settings → Security & Privacy.
Pros and Cons
Pros
- Portable Design: No installation required, ideal for on‑the‑go use.
- Extensive Codec Control: Choose from H.264, ProRes, MPEG‑4, and more.
- Dual‑Monitor Support: Capture both screens in a single file.
- Rich Annotation Suite: Draw, highlight, and zoom while recording.
- Multiple Export Formats: QuickTime, AVI, MP4, Windows Media, Apple TV.
- Lightweight Footprint: Low RAM usage, fast launch times.
- Universal Binary: Runs natively on both Intel and Apple Silicon.
- Free Core Functionality: No subscription required for basic capture.
Cons
- Steep Learning Curve: Advanced options can overwhelm beginners.
- Limited Post‑Production Editing: No built‑in timeline or effects beyond basic trimming.
- No Direct Cloud Upload: Files must be manually transferred to sharing services.
- Audio Capture Restrictions: System audio requires third‑party loopback utilities.
- Interface Simplicity: UI feels dated compared to modern commercial tools.
Frequently Asked Questions
Can macVCR record dual‑monitor setups?
Yes. macVCR detects multiple displays and lets you record either a single monitor or both screens simultaneously. The combined capture is saved as one seamless video file, which is especially useful for presentations that span across two monitors.
Is there a limit to the length of a recording?
There is no hard‑coded time limit, but very long recordings can produce large file sizes, especially at high resolutions and frame rates. You can control the maximum duration in the preferences to avoid unintentionally huge files.
Do I need additional software to capture system audio?
macVCR can record audio from an external microphone out of the box. To capture internal system audio on macOS, you’ll need a virtual audio driver such as BlackHole or Soundflower, which macVCR can then use as an input source.
How do I export a recording to a Windows‑compatible format?
After stopping a capture, open the file in macVCR’s export dialog. Choose “Windows Media” or “AVI” as the target format, adjust codec settings if needed, and click “Export.” The resulting file can be played on any recent Windows PC without additional codecs.
Is macVCR safe to use on a corporate Mac?
Because macVCR is a portable, unsigned bundle, it does not modify system files or require admin privileges. It only needs screen‑recording permission, which can be granted through the macOS security dialog. This makes it suitable for corporate environments that enforce strict software policies.
Conclusion & Call to Action
In the crowded world of screen‑capture utilities, macVCR stands out for its blend of portability, depth of control, and cross‑format flexibility. If you regularly create tutorials, product demos, or software walkthroughs on macOS, the ability to capture both monitors, annotate on‑the‑fly, and export to a Windows‑friendly format without paying a subscription fee is a compelling proposition. While the interface may feel a bit utilitarian and the learning curve steep, the payoff is a lightweight, powerful tool that never asks for more than a double‑click to start recording.
Ready to try a fast, installation‑free screen recorder that puts advanced codec settings in your hands? Download macVCR now and experience a seamless capture workflow that works on Intel and Apple Silicon Macs alike. Start creating polished screencasts today – your audience (and your hard‑drive) will thank you.